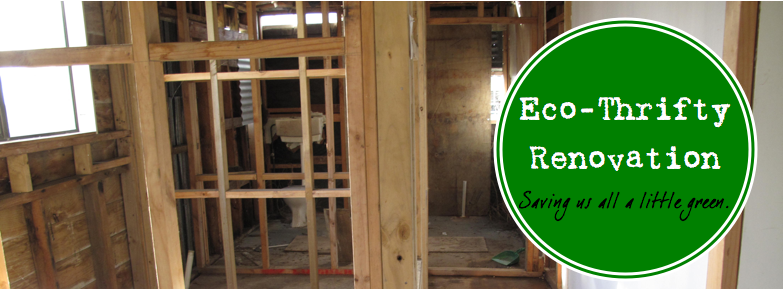
This part of the house, a lean-to added to the house around 1915-1920, was in a state of disrepair when we arrived. A previous owner, or several of them, had begun renovating the space. When we bought it, it had been divided into several small rooms on the north-eastern side and one larger room on the north-western side. We quickly made plans to swap this around to take advantage of the sun's free energy (and to block it out when we don't want it).


This is what the large room in the northwest looked like when we arrived. It had been used as a kitchen.

We constructed a wall (reusing the studwork from other walls we took down) to close off this room. It would be our new bathroom. We made sure to move the heavy cast-iron bath in before we put up the wall. (Every once in a while we go about things in the right order!)

We then removed the old kitchen cabinetry and brought in a toilet, vanity, washer and tub. Kiwi homes traditionally have a small toilet room separate from the bathing room. We opted against this, because we thought having one big room would allow us to use the space in more ways. We can now dry our clothes in here on damp days, and were able to position our heavy tub to catch the sun's rays from a northwest window, acting as thermal mass.

We then removed the window that faced southwest. This was a net energy gainer in the summer and a net energy loser in the winter. Quite the opposite of what we were aiming for.

And finally, this is the stage we are at now. We're fairly close to being done in this room (which is very exciting after living with only a camping shower since October). Just a few finishing details to get to before we have (finally!) a fully functional and beautiful bathroom!

Moving along the house, we get to the back door. Although, do you still call it a door when it is boarded up with iron so you can't get out, but still manages to let a huge amount of rain in. Let's call it our "back weather inlet". First step was to reframe the door and fix the damaged wall.

We then built the bathroom wall, creating a back entry-way that would help insulate our cozy house against harsh winds and cold weather in the winter. It would also be a handy place to store garden tools, boots, our solar cooker, and potentially a hot water heater.

But it turned out that our solar hot water cylinder lives on the roof, so our closet can now get used for storage. It's actually the only closet in the whole house. This picture is kind of confusing, but this is how the back entry way looks now. Our closet door is on the left and our two back doors (storm door and inner door) are shown under a home-made pelmet. Gum boots to the right and tools tucked in the corner to the left. We have yet to add a door to seal off this room, but when we do, I am hoping to find a glass one that will let the light into the hallway.

Alright, so finally we get to the new kitchen. As you can tell from the below pictures this was all studwork when we arrived.

It was tough to get a full shot because it was so narrow and dark, but this is a view moving down the length of the room, ending at the pièce de résistance.

In a show of manly strength and strength of stomach, Nelson removed the toilet and the water damaged wall beside it.

He then framed out the doorway for our custom aluminium french doors. These will provide a second entrance to the back of the house, while simultaneously letting more light and warmth into the northernmost corner. The new exterior doors, combined with an added doorway from this room into the lounge, creates a much more light, warm, and livable living space.
 Then it was time to add the insulation.
And finally, this is what the kitchen looks like now, panning along the same view as the combined shot above.

We have since plastered and painted an undercoat. As I write, Nelson is pouring the foundation for our Shacklock multi-fuel stove, which will serve cooking and heating functions. We still have decisions to make about cabinetry and flooring, but we're getting closer.

And so that's where we're at. The 8 months have gone by quickly, and to be honest it is surprising to see the progress when we lay it out in pictures like this. It's a bit of a motivation booster! I think we can, I think we can. The finish line is in sight (although given my husband's love of creativity, I have a feeling this house will never really be "finished").
What have the past 8 months brought your way? What are you most proud of accomplishing since November?

-June Cleverer


